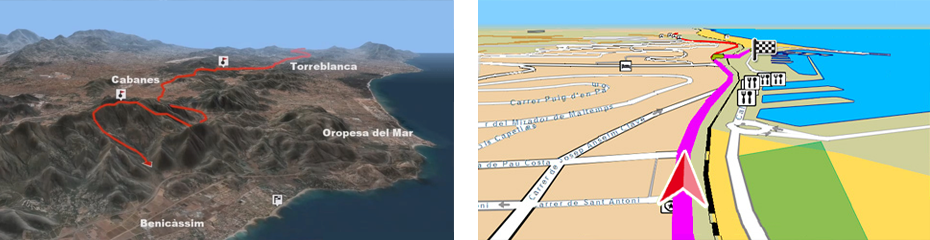
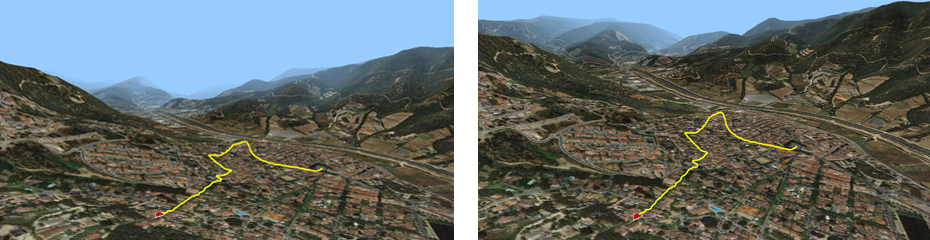
Land features a simulator that will help you to prepare your adventures as if you where there. Move around the location as if you were flying a helicopter. Land can simulate one or several tracks at the same time. The animation can be displayed at real speed (same speed track was recorded) or it can be accelerated.
Start a simulation
In order to animate one or several tracks from the beginning, proceed as follows:

1. Open the track or tracks that you want to simulate.
2. Click ‘Play’ at the buttons bar.
3. Simulation will start up from the beginning of the track.
You can also animate a track from a certain point (for example, from the middle of the track):

1. Open the track or tracks that you want to simulate.
2. At map window, open the contextual menu on the point from where you want to start the animation and select ‘Play here’.
3. Simulation will start up from the point you have selected.
Once you are navigating a track you will see the difference between an active track and the rest of the tracks, the active track will be represented using a different color and a notable thickness compared to the rest.
IMPORTANT: Tracks created with Land do not contain time nor speed data, so these tracks cannot be simulated unless you assign a time reading for each point of the track. In order to assign time and speed press ‘Assign time and speed’.
Once the animation starts, an additional buttons bar will appear. Manage the simulation using the following buttons:

|
|
‘Play’: Starts up the animation. |
|
|
‘Stop’: Stops the animation. |
|
|
‘Pause’: Freezes the animation without stopping it. |
|
|
‘Fast forward’: Accelerates the animation. |
|
|
‘Rewind’: Runs the track quickly in the other direction. |
|
|
‘Center map in current GPS position’ |
|
|
‘Do not move the map’ |
|
|
‘Show more map in front’: Your current position will be located at the lowest part of the screen so you will see more map ahead of you. |
|
|
‘Center map when it arrives to 10% of the screen border’: Your position will only move 10% away from the centre of the screen because when that happen the map will automatically centre on your current position. |
|
|
‘Record track’: ‘Triplog’ is the command allowing you to manage the recording of your itinerary. Possible states: recording, paused or stopped. |
|
|
‘Mark waypoint’: Create a new waypoint on your current coordinates. |
|
|
‘Automaps’: Land opens the best map based on your current position automatically. |
|
|
‘Variable ring’: Add more rings around the position. Define the radius of the inner ring and the number of successive rings which will be equidistant from the first inner ring. |
|
|
‘Fixed ring and parallels’: A circumference encircling the position will be drawn. |
|
|
‘View velocity and acceleration vectors’: Three vectors will indicate your speed, your tangential and normal acceleration. |
|
|
‘View turning radius’: A circumference is drawn representing the course that you will follow if you continue with the same turn radius. |
|
|
‘Screenshot’: Create an image file of the current content shown at map window. |
|
‘Capture video’: Create a video file of the current content shown at map window. |
|
|
‘Zoom +’ |
|
|
‘Zoom -’ |
|
|
‘Fast elevation’: Increase the altitude of the helicopter (you will be moving helicopter in that direction, your view will not move). |
|
|
‘Fast descent’: Reduce the altitude of the helicopter (you will be moving helicopter in that direction, your view will not move). |
|
|
‘Top right elevation’: Increase the altitude of the helicopter at the same time that you move the helicopter to the right (you will be moving helicopter in that direction, your view will not move). |
|
|
‘Top left elevation’: Increase the altitude of the helicopter at the same time that you move the helicopter to the left (you will be moving helicopter in that direction, your view will not move). |
|
|
‘Down right descent’: Reduce the altitude of the helicopter at the same time that you move the helicopter to the right (you will be moving helicopter in that direction, your view will not move). |
|
|
‘Down left descent’: Reduce the altitude of the helicopter at the same time that you move the helicopter to the left (you will be moving helicopter in that direction, your view will not move). |
|
‘Move right’: Move the helicopter to the right (you will be moving helicopter in that direction, your view will not move). | |
|
|
‘Move left’: Move the helicopter to the left (you will be moving helicopter in that direction, your view will not move). |
|
|
‘Turn up’: Move your view inside the helicopter up (you will be moving your view in that direction, helicopter will not move). |
|
|
‘Turn down’: Move your view inside the helicopter down (you will be moving your view in that direction, helicopter will not move). |
|
‘Turn right’: Move your view inside the helicopter right (you will be moving your view in that direction, helicopter will not move). | |
|
|
‘Turn left’: Move your view inside the helicopter left (you will be moving your view in that direction, helicopter will not move). |
|
|
|
NOTE: You can also change the functions of this menu by opening the contextual menu on it and selecting ‘Customize’.
IMPORTANT: Land also allows you to pilot the simulator using a joystick. This tool allows you to travel around the 3D scenery in a more intuitive and realistic way.


