Basic operations that can be perfomed on maps:
•Open a map:
|
|
|
|
1. On the buttons bar, press ‘Open map’.
2. Select the map that you want to open.
3. Once opened, map will be displayed at map window and listed at the data tree.
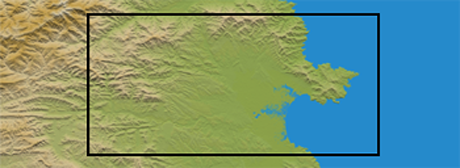
•Open the best map for a certain area: Land will automatically look for the map with best definition for the chosen point.
|
|
1. On the main menu, press 'File > Preferences > Maps'.
2. Choose the type of map you want to auto-open (maps available on your computer, on-line maps, reliefs…).
•Show a list of all opened maps: This window shows you a list containing all the maps that are currently opened on Land. From this window you can carry out several actions on maps.
|
|
|
|
1. At the data tree, open the contextual menu on ‘Maps’.
2. Select 'Maps list'.
•Check the properties of a map: This window shows you a list of properties of the selected map (some parameters are editable).
|
|
1. At the data tree, open the contextual menu on the map.
2. Select 'Properties'.
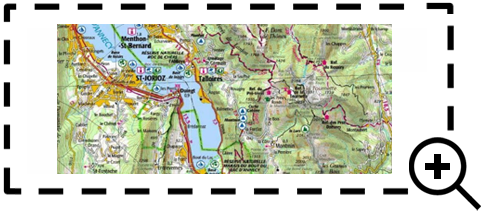
•Zoom to a specific map: Focus the selected map at map window in just a click.
|
|
|
|
1. At the data tree, open the contextual menu on the map.
2. Select ‘Zoom to it’.
•Establish map as index: If you work most of the time with the same map, Land offers you the possiblity to open that map in just a click instead of having to search for the map each time you run Land. Assign your most-commonly used map as ‘Index map’:
1. At the data tree, open the contextual menu on ‘Maps’ and select ‘Open index map’.
2. Select the map that you want to set as ‘Index map’.
3. You have just defined this map as ‘Index map’.
4. As from now, next time you click ‘Open index map’ Land will open this map automatically.
•Establish map as primary: If a calibration conflict arises, the other maps will adapt themselves to the map set as primary.
1. At the data tree, open the contextual menu on the map.
2. Select ‘Multimaps > Set as primary’.
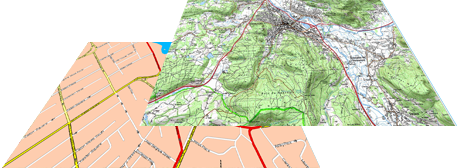
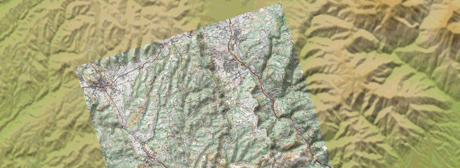
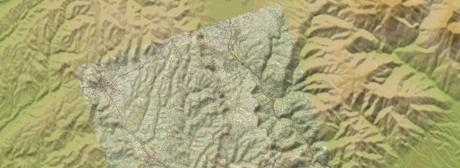
•Bring map to front/Send map to back: With Land you can load more than one map at the same time, but if you have two maps for the same area displayed at the same time, one of them can be displayed at the top by superposition so that you can use both maps at the same time.
|
|
|
1. At the data tree, open the contextual menu on the map.
2. Select ‘Multimaps > Multimaps > Bring to front/Send to back’.
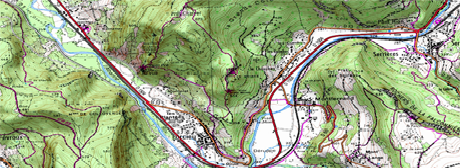
IMPORTANT: If a vectorial roadmap is superimposed on any other type (topographic, orthophoto ...) the two maps will be viewed together, simultaneously showing the roads from the first map and the relief from the second.
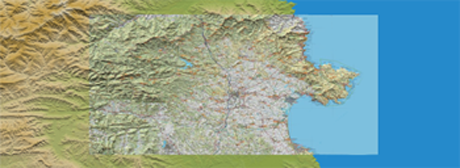
•Draw map corners: Land draws at the map window the frames for all loaded maps.
|
|
|
1. On the main menu, press 'File > Preferences > View > General’.
2. Select ‘Draw map corners’.
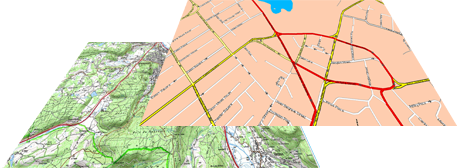
•Map transparency: With Land you can load more than one map at the same time, but if you have two maps for the same area displayed at the same time, one of them can be displayed using a certain transparency so that you can use both maps at the same time.
|
|
|
1. At the data tree, open the contextual menu on ‘Maps’.
2. Select ‘Transparency’ and set the level of transparency for that map.
•2D/3D view: Press ‘2D > 3D’ button at the tool bar to switch between viewing modes.
|
|
|
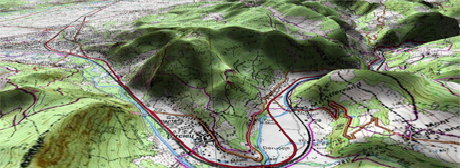
Land offers several visualizing modes so you have the most adequate perspective in each moment. At the tool bar press '3D' to switch between the different views:
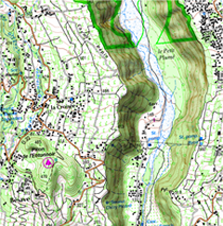
1. ‘2D flat’ mode: Zenith plan.
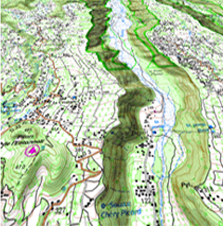
2. ‘3D flat’ mode: Trimensional flat image with a perspective.
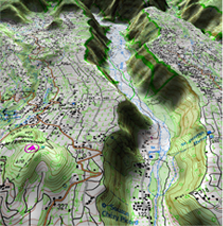
3. ‘3D relief’ mode: Orography of the terrain in real 3D (vectorial maps will not be displayed in 3D). This mode can only be displayed if you load:
•3D relief map (*.CDEM)
•Raster map (normally *.RMAP or *.ECW)
If no 3D relief map is available, the 3D view will be flat. Use the mouse to control movement in 3D. By holding down each mouse button and moving it you will get different effects: move, rotate, ascent, descent, zoom in, zoom out...
|
|
|
|
|
|
|
|
|
|
|
2D FLAT |
3D FLAT |
3D+ RELIEF |
RELIEF MAP |
•Send to: Land offers you the possibility to transfer any map to several destinations (GPS or smartphone):
1. Open the contextual menu on the item you want to transfer.
2. Once open, press 'Send to' and choose where you want to transfer the selected item. If you owe a new generation TwoNav GPS, you will be able to choose between transferring via USB cable or Wi-Fi.
3. File transfer will start and may take a few seconds.
IMPORTANT: Transfer options may vary depending on the selected item.