Land allows you to create vectorial maps from scratch, and to modify any type of information on these kinds of maps. Thanks to its flexible interface, you can adapt your maps, adding, editing or deleting the information you deem most appropriate.
Vectorial maps are mainly based on these elements:
|
|
|
|
|
|
|
|
|
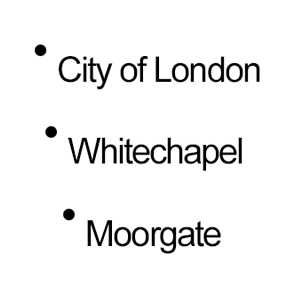
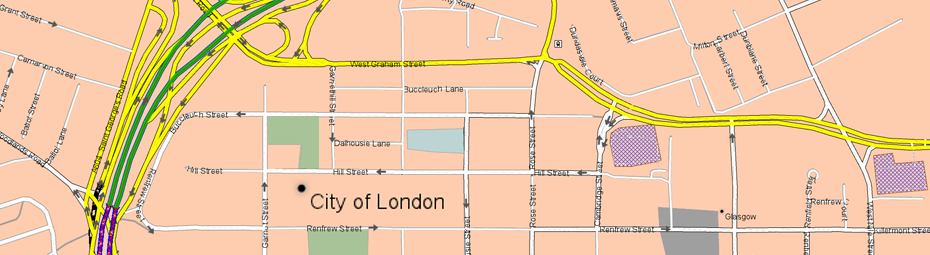
POINTS |
POLYLINE |
POLYGONS |
These elements are grouped in layers, each one containing a different type of information: names of cities (points), main roads (polylines), buildings representing hospitals (polygons)...
Based on the properties of each element, you will be able to define, among others: the colour and thickness of the polyline defining the element, the filling and texture of polygons, the icon identifying each layer...
Creation of vectorial maps
To create a vectorial map from scratch, just follow these steps:
1. Go to 'Main menu > File > New > New vectorial map' and give the newly created map a name.
IMPORTANT: Before starting work on a vectorial map, you will need to load some type of item (map/waypoint/route) that serves as a reference, to keep from creating the map blindly.
2. Choose the type of element you wish to create (point/polyline/polygon).
3. Open the context menu in the exact location where you want to create the new reference.
4. Create the element:
•Point:
|
|
|
|
1. Select 'Create new point'.
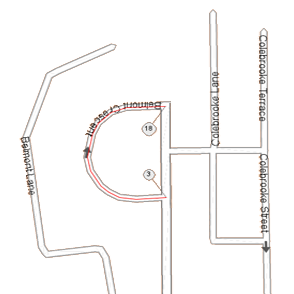
•Polyline:
|
|
|
|
1. Select 'Create new polyline’.
2. The first point of the polyline will be created in that position. Select the location of the second point, and repeat this action until the last point.
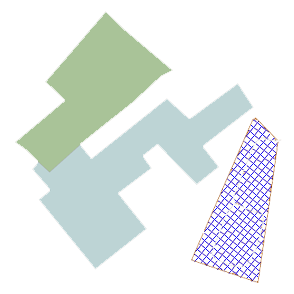
•Polygon:
|
|
|
|
1. Select 'Create new polygon'.
2. The first point of the polygon will be created in that position. Select the location of the second point, and repeat this action until the last point.
5. Fill out the basic information on the element you just created in the properties window.
6. Repeat the previous steps for as many elements as you wish to create.
7. Once you're finished, go to ‘Finish editing’.
8. Assign a name to the newly created hypermap and save it (on the data tree, open the context menu on the map and hit ‘File > Save').
Edition of vectorial maps
Once the vectorial map is open you can easily modify the points/polylines/polygons that make up a vectorial map. These are the basic operations that you can perform:

|
|
'Add points to a polyline/polygon': Add more points to the polyline/polygon, starting from the desired point. |
|
'Insert intermediate points in a polyline/polygon ': Detect the two points of the line closest to the cursor and insert an intermediate point between them. | |
|
|
'Draw a polyline/polygon by dragging the mouse': Add more points to the polyline/polygon as if you were drawing freehand from the desired point. |
|
|
'Delete a polyline/polygon': Delete the selected element. |
|
|
'Remove point': Choose the point of the selected item that you wish to eliminate. |
|
|
'Edit point': Modify all kinds of information on the selected element. |
|
|
‘Split polyline’: Divide a polyline into two parts. |
|
|
'Unify lines': Unite two polylines (the beginning and end of the polylines must coincide in order to fuse the two). |
|
|
'Recentre position during editing ': Automatically recentre the map window each time you create a new point. |
|
|
'Reverse polyline direction': Reverse the direction in which the selected polyline runs. |
|
|
'Change a polyline/polygon to the active layer': Move the selected polyline to the active layer of the vectorial map. |
|
|
'Create network information for routing': Create network information for later use with the 'FastTrack' tool. |
|
|
'Create a new polygon': Create a polygon by selecting the location of each of the points that comprise it. |
|
|
'Create a new polyline': Create a polyline by selecting the location of each of the points that comprise it. |