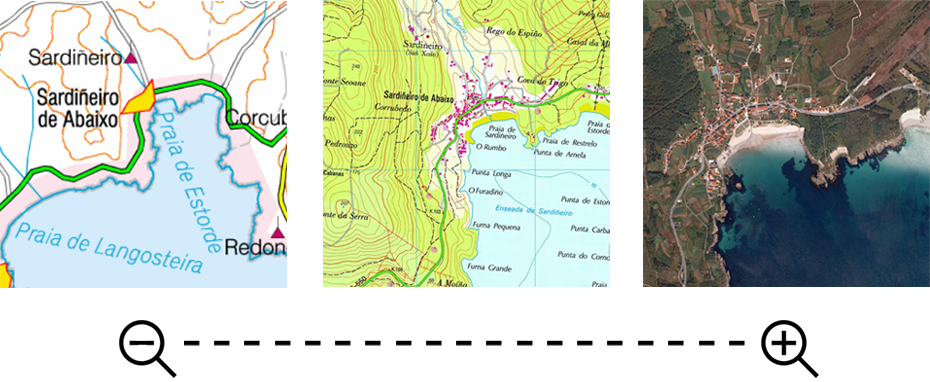
LAYER 1: 10%
LEAST DETAILED
LAYER 2: 30%
MORE DETAILED
LAYER 3: 50%
MOST DETAILED
|
| ||
|
|
|
|
|
LAYER 1: 10% LEAST DETAILED |
LAYER 2: 30% MORE DETAILED |
LAYER 3: 50% MOST DETAILED |
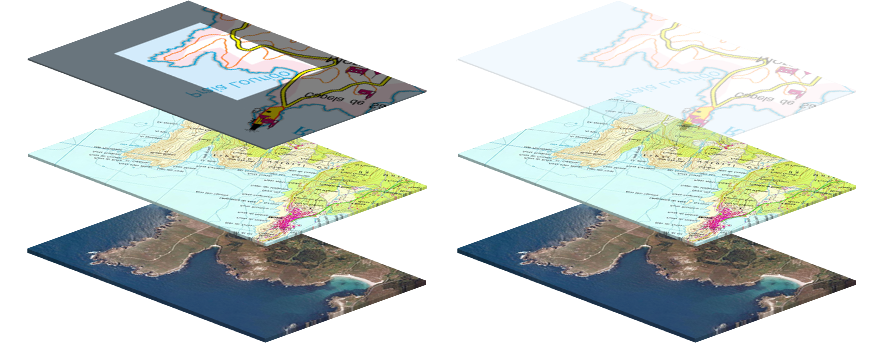
A hypermap file is one composed of maps of different formats, organised with superimposed layers. Each layer presents a different map, depending on the level of zoom applied.
That is, as you zoom in on the map located on the top layer, it will give way to the map provided in the next layer below, and so on. Thus, depending on the variation of the zoom, one map or another will be displayed, without the need to activate or deactivate the open maps.
Hypermaps will prove very useful to organize maps covering the same geographical area, according to each’s level of detail. When you zoom in on one of the maps and it starts to pixelate automatically it will display the next map with greater resolution, being able to supplant, for example, a pixelated topographic map with an orthophoto featuring better resolution.
Organization of layers
A hypermap can contain as many map layers as you wish. Briefly, a hypermap is structured in the following way:
•Hypermap (*.IMP file): Links the various layers and establishes the starting resolution for the display of each layer.
•Map layer 1: A less detailed, usually very general map used as a rough reference, without much resolution.
•Map layer 2: A more detailed map, usually of specific areas, with good resolution.
•Map layer 3: A maximum-detail map, usually maps of specific areas, with very high resolution.
•Other map layers: Increasingly detailed layers, and, generally, of more specific portions of territory.
Creation of hypermaps
All you will need to create a hypermap is:
•At least two maps
To set up your own hypermaps, follow these steps:
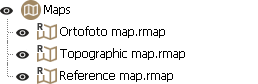
1. Open all the maps you want to integrate into your hypermap.
|
| |
|
|
|
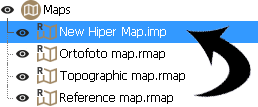
2. From the data tree, open the context menu in the category 'Maps' and select 'New hypermap'.
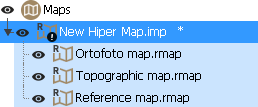
3. Then drag from the data tree each one of the maps open in the hypermap you have just created.
|
| |
|
|
|
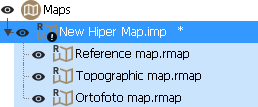
4. Once added, from the same data tree, organise the data maps in the order you want to see them: hold down the left mouse button on the map you want to move, and drag up or down to the desired position.
|
| |
|
|
|
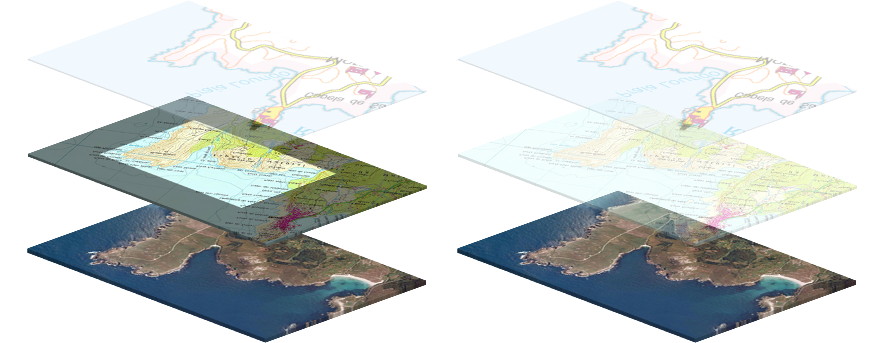
IMPORTANT: Usually maps featuring lower resolution are placed above maps of higher resolution, as in this way the lower-resolution maps will be displayed in the foreground and, as one zooms in, the more precise maps will be displayed.
5. Once organised, in the map window locate the map that is situated above the others (layer 1) and zoom in on it. Continue zooming to the point where you would like the second map to appear (usually when the current map starts to lose resolution and become pixelated).
6. Once this zoom point is determined, open the properties of the map you want to make disappear (layer 1) and, in the option 'View > Far zoom' select 'XX m / pix (Current zoom)'.
|
|
|
|
7. After the current zoom level the previous map will no longer appear, giving way to the map located on the next layer. Check the previous step by applying more zoom (note to the zoom, resolution and the map scale).
|
|
|
|
8. Apply the previous steps to the other maps contained on the hypermap, except for the last layer.
|
|
|
|
9. Once the changes to all the maps have been made, make sure that the entire hypermap works properly.
10. If it does, assign the newly created hypermap a name and save it (in the data tree, open the context menu on the hypermap and go to File > Save).
11. Once saved, you can start working with the new hypermap.
IMPORTANT: Remember that from now on you will not need to open all the maps individually, it will suffice to open the hypermap that fuses them (*.IMP file).