Land has developed a new concept of navigation by providing you a brand new tool to have fun and enjoy the nature: e-Roadbooks. A roadbook is a diagram tool commonly used by rally co-drivers and walkers that help them to navigate uncertain terrains. Traditional roadbooks contain several pages of information such as charts, GPS coordinates, written instructions, manoeuvres...
|
| |
|
| |
e-Roadbooks, contain all this information in digital format with no need to read indications in a book, you GPS will display all manoeuvres on the screen. Convert your excursions into a big challenges, or even turn them into a funny game in harmony with nature... In order to create an e-Roadbook you need several essential tools:
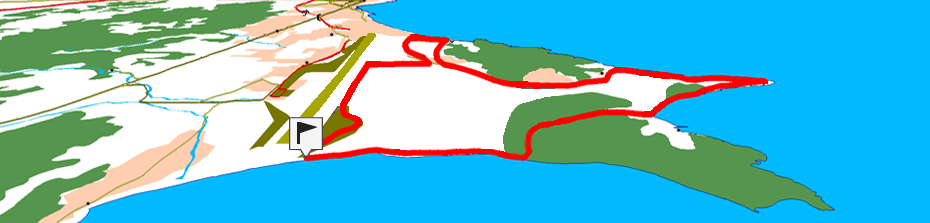
•A track
•The book where items are stored with the images and descriptions
Land can open the following e-Roadbook formats:
|
|
|
Follow next steps to create an e-Roadbook file using Land software:
1. Open the track file.
2. At the button bar, click the 'Create/Edit track' button.
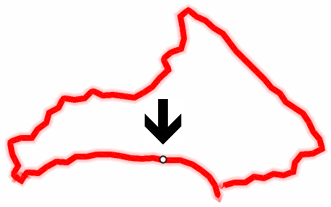
3. Press any of the track point where you want to create an e-Roadbook point. Once selected, press 'Add e-Roadbook point' at track editor.
|
|
|
|
|
|
|
|
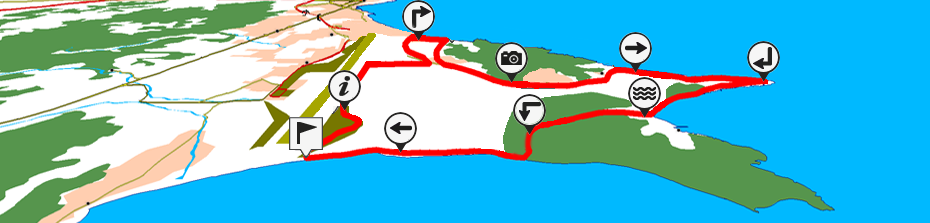
4. A pop up window will be displayed, fill in basic data for the e-Roadbook point you are about to mark: name, icon…
5. Repeat this action for each e-Roadbook point that you want to highlight.
|
|
|
|
6. Save the resulting file in *.BTRK format.
IMPORTANT: Do not delete the e-Roadbook in *.TRK format since the resulting *.BTRK is not editable. If you want to change any parameter, modify the *.TRK file and save it again in *.BTRK format.
Follow next steps to edit an e-Roadbook file using Land software:
1. Open the track file.
|
|
|
|
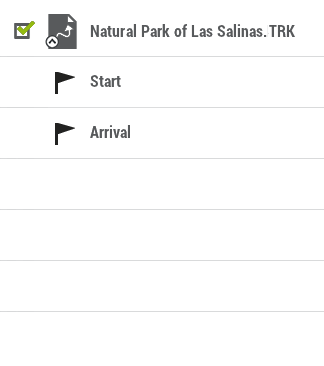
2. Once opened, open its contextual menu and select ‘Edit > Edit e-roadbook’. A new window will appear containing all the e-Roadbook points of the track.
|
|
|
|
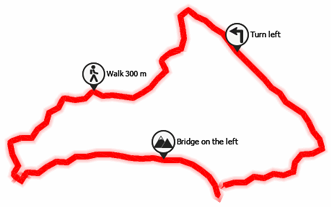
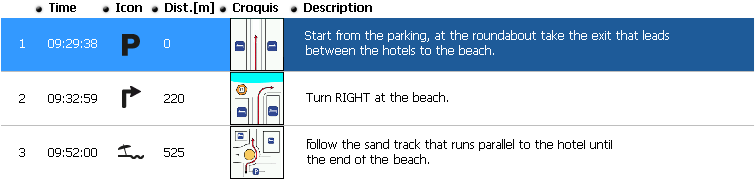
3. Now you can edit the e-Roadbook points with relevant information:
•Description: Write important manoeuvres, information about monuments, notable facts…
•Croquis: Associate image showing navigation signs for an easy orientation.
IMPORTANT: To associate images you should edit, cut and save them using a suitable format (*.BMP) and size (128x128 pix.), so that they can fit TwoNav interface. Search for the right image editor to edit pictures.
4. If you wish, add files to the e-Roadbook points using one of these methods:
•Drag files from Windows/Mac explorer: Keep the left mouse button pressed on the file and drag it to the e-Roadbook point.
•Drag files from internet browser: Drag them directly from browser. Just drag the image to the e-Roadbook point at the data tree.
•Add them manually: From ‘Associated’ section at the e-Roadbook point properties.
5. Repeat this action for each e-Roadbook point that you want to highlight.
6. Save the resulting file in *.BTRK format.
IMPORTANT: Do not delete the e-Roadbook in *.TRK format since the resulting *.BTRK is not editable. If you want to change any parameter, modify the *.TRK file and save it again in *.BTRK format.
NOTE: e-Roadbook points have a round shape unlike waypoints that have a square shape.