Advanced operations that can be perfomed on routes:
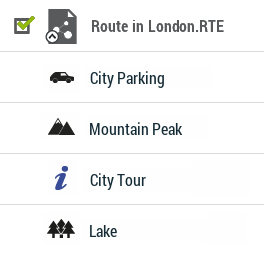
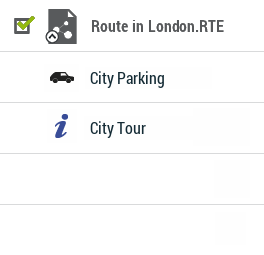
•Name filter: Filter your routes by entering a combination of characters. Only items containing such letter combination will be displayed.
|
| |
|
|
|
•Sort by: Sort your routes using a reference. All elements will be rearranged from highest to lowest according to that reference.
|
| |
|
Activity Date Duration |
Distance Proximity Ascension Speed |
•My on-line routes: Access to private servers where you can store or download your own routes (OS Maps, GO cloud, IGN Rando...). Only you can access these accounts as they are linked to your account.
|
|
|
|
•Discover on-line routes: Access to public servers where you can download routes provided by suppliers and specialized websites (FFCT, GPSies, TraceGPS, LaTrace, Utagawa...). Any user can access these servers and download routes.
|
|
|
|
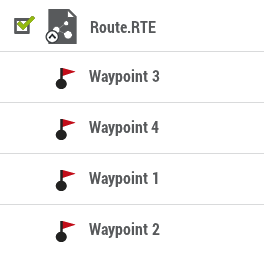
•Change the order of the waypoints in a route: In order to change the order of the waypoints of a route, open the contextual menu on the waypoint that you want to move and select ‘Move up’ or ‘Move down’.
|
| |
|
|
|
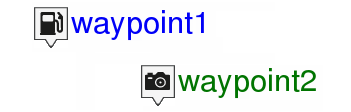
•Modifiy for all waypoints in a route: If any of these properties is modified, it will be applied for all waypoints at the same time.
|
| |
|
|
|
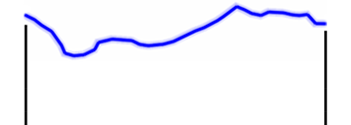
•Graph representation of routes: Display a graph representation of your route, just enter the properties of the element and press the button ‘Graph representation’. These are the available functions on graphs:
|
| |
|
|
|
•Guiding Y axis: Bar serving as moving axis.
•Changing data fields on the Y-axis: Click on the Y-axis to change its default data field and select a new field for this axis (altitude, speed, heart rate, cadence...).
•Moving graph: Use ‘Zoom’ buttons to sections of the graph with more detailed precision (graph scrolling can also be applied by dragging the graph up and down as well as laterally).
•Automatic re-center: Press ‘Re-center’ button to automatically re-center the graph.
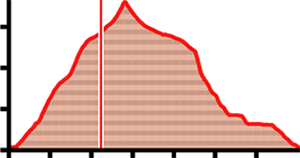
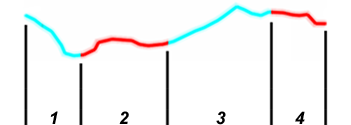
•Create separate laps on an existing route: You may split the route in several laps by opening the contextual menu on the point that divides the two selected laps and select ‘Laps > Change lap here’. At this moment, the lap closer to the end of the route will change color to highlight the difference between the two lap.
|
| |
|
|
|
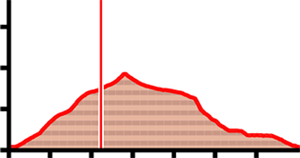
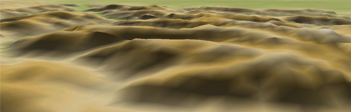
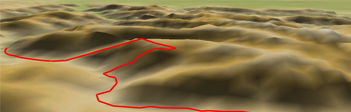
•Import altitudes: If you have a 3D relief map loaded (*.CDEM file), your device will assign to each point of the route its altitude considering the information of the loaded relief map.
|
| |
|
|
|
•Delete stopped points start/end: Route will omit the repetitive points from the beginning and the end where you stopped before and after making the route.
|
| |
|
|
|
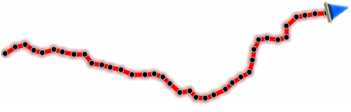
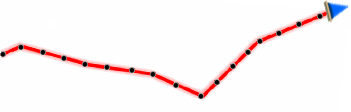
•Reduce the number of points: Route will be drawn by keeping the shape of the original route but according to the number of points that you introduce.
|
| |
|
|
|
•Assign time/speed to route points: Determine a time for departure and a constant speed so that your device will calculate the estimated time of arrival for each point in the route.
|
| |
|
09:30:15 |
50 mi/h |
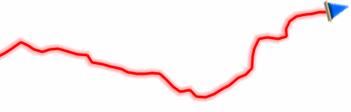
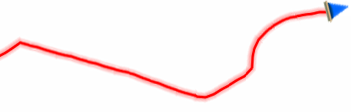
•Delete aberrant points: Points deviating excessively from the route will be considered errors, and so deleted.
|
| |
|
|
|
•Invert route: In order to display a route in the opposite sense to the default one (the begining at the end and vicecersa), open the contextual menu of the route and select ‘Tools > Reverse the route’.
|
|
|
|
|
|
|
|
•Convert TRK to RTE: In order to change a TRK into a RTE, open the contextual menu of the route and press ‘Tools > Convert TRK to RTE’.
|
|
|
|
|
|
|
|
•Convert RTE to TRK: In order to change a RTE into a TRK, open the contextual menu of the route and press ‘Tools > Convert RTE to TRK’.
|
|
|
|
|
|
|
|