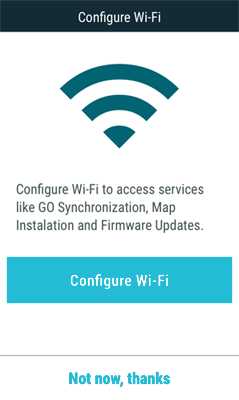
Your device and the GO Cloud sync via Wi-Fi. When you finish an activity, as soon as the device can log into a Wi-Fi network, your new activity will be uploaded automatically to the GO Cloud without any actions required on your part.
Follow these steps to set up Wi-Fi access on your device:
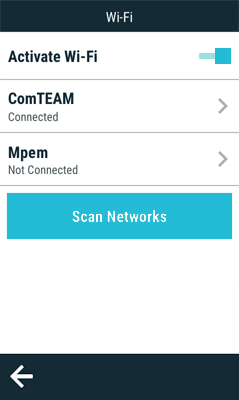
1. Go to ‘Main menu > Settings > Wi-Fi’.
2. Select ‘Scan’ to see the Wi-Fi networks available.
3. Select the network you want to connect to (and enter the password if necessary).
4. Once connected to the Wi-Fi network, log in with your user account from ‘Main menu > Settings > My accounts’.
|
|
|
|
|
Upload files from the device to Cloud GO
The simplest way to store your activities in the cloud is by activating the automatic synchronization:
1. Press 'Main Menu > Settings > Cloud GO'.
2. From this moment, every time you finish an activity and TwoNav has detected a Wi-Fi network, your device will automatically upload the latest activity to the GO cloud.
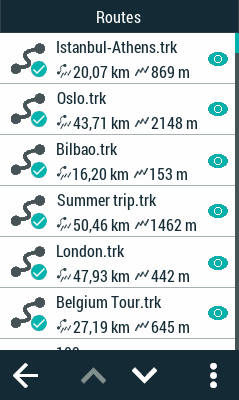
Check the synchronization status for each element on data lists:
|
|
SYNCHRONIZING |
|
|
|
|
|
UPDATED |
|
|
|
|
|
WAITING |
|
|
|
|
|
ERROR |
NOTE: Force an instant synchronization by pressing 'Main menu > Settings > Cloud GO > Synchronize now'. After that, your device will automatically synchronize with the GO cloud.
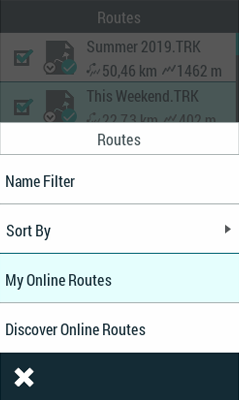
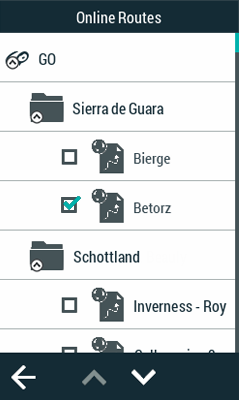
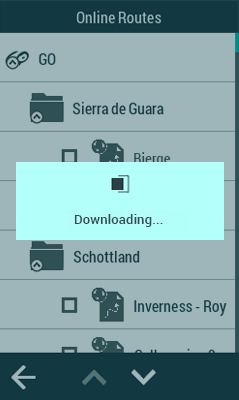
Download files from the Cloud GO to the device
If you want to access your activity record stored at GO and download any of them to the device, follow these steps:
1. Press 'Main menu > Routes > More options > My on-line routes'.
2. Download routes individually or entire folders.
|